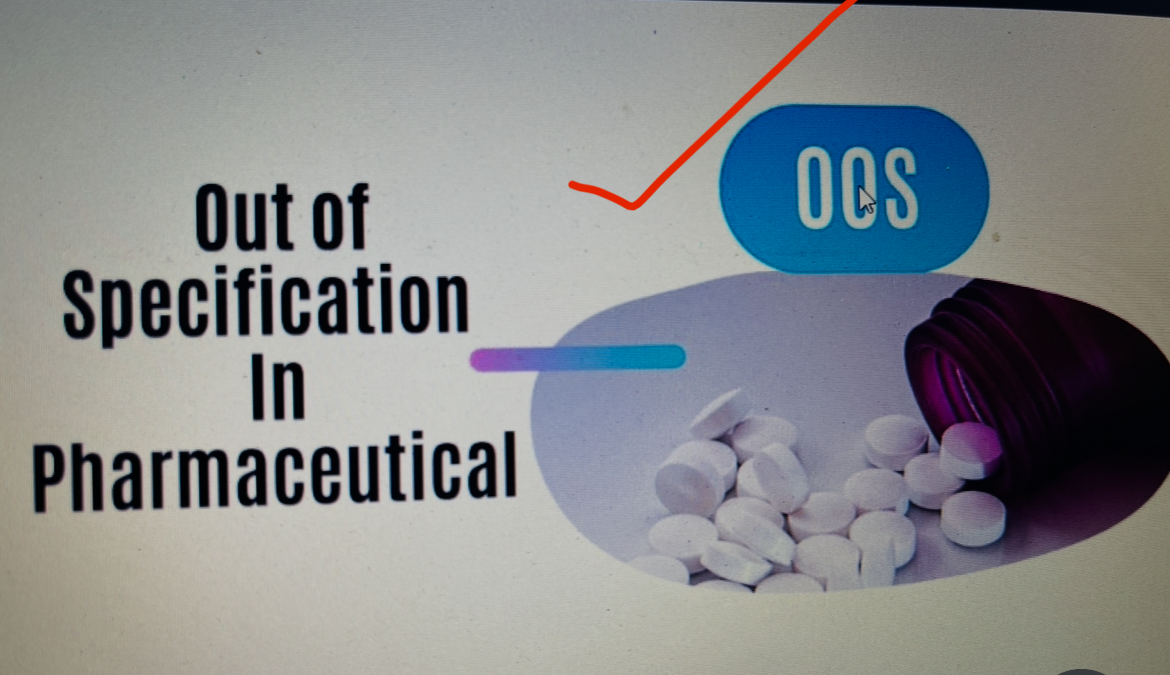
Systematic Root cause Analysis of OOS result.
Root cause analysis is a systematic process for identifying the true reason for a problem, not just the root cause. It is an essential part of any investigation, especially in fields like pharmaceuticals manufacturing where failures can have significant consequences. The auditors increasingly expect a thorough, systematic approach rather than a quick conclusion.
Here is a step-by-step breakdown of how to conduct a systematic root cause analysis,
Here is the example of an “unknown impurity” (OOS result) detected by an instrument.
1. Initial Observation and Problem Definition
Problem: An “unknown impurity” peak was detected in a sample, leading to an out-of-specification (OOS) result. The initial suspicion is an instrument error.
2. Brainstorm All Possible Causes
First we need to a comprehensive list of all potential causes. This is where we think broadly, considering all possibilities from the simplest to the most complex.
- Sample-Related Issues:
- Contamination: The sample itself was contaminated during collection or handling.
- Product Degradation: The product has degraded, and this impurity is a degradation product.
- Improper Sample Preparation: The sample was not prepared correctly (e.g., incorrect dilution, wrong solvent, incomplete dissolution).
- Extraneous Peak: An unexpected peak from an outside source is present in the chromatogram (e.g., a carry-over from a previous injection, a contaminant in the solvent or mobile phase).
- Instrument-Related Issues:
- Pressure Fluctuations: A known instrument issue causing peak due to pressure drop resulting unknown peak.
- Injection Error: The autosampler is faulty.
- Detector Malfunction: Air bubble in detector .
- Column Issues: The column is contaminated, degraded, or has a void.
- Calibration/Performance Verification Failure: The instrument was not calibrated correctly or was out of its performance range.
- Method-Related Issues:
- Analytical Method imperfection: The method itself is not robust enough or has a known interference.
- Integration Error: The software incorrectly integrated a peak or a baseline noise spike.
3. Rule Out Causes Systematically:
This is the core of the investigation. We can use data and testing to eliminate each potential cause one by one. This process follows a logical flow, often from easiest-to-check to most complex.
- Rule out “Extraneous Peak” and “Contamination”:Test:
- Re-inject the original sample from same vial and refilled vial from original solution .
- If the peak appears in the original sample but not in refilled vial, it suggests a sample-handling issue or contamination. If it appears in both, it’s likely a product or method issue.
- Conclusion: If injection from refilled vial of same solution shows no impurity peak, contamination is a strong possibility. You can then investigate the sample handling process.
- Rule out “Product Degradation”:
- Compare the sample chromatogram to force degradation study data.
- “Force degradation studies expose the product to extreme conditions (e.g., heat, light, acid, base) to create and identify potential degradation products. . If the unknown impurity peak matches a degradation peak from the force degradation data, then the failure is a product issue, likely due to improper storage or age.”
- Conclusion: If the impurity peak does not match any known degradation peak from the study, then we can confidently rule out degradation as the cause.
- Investigate “Instrument Issues”:
- Test: Re-inject a known standard (e.g., a system suitability standard) that does not contain the impurity. Also, run a “blank” injection of the mobile phase.
- Analysis: If the standard runs correctly and the blank shows no peaks, the instrument is likely functioning properly. If the standard shows unusual peak shapes or retention time shifts, or if the blank shows the impurity peak, it points directly to an instrument issue.
- Conclusion: This is where you would address the “pressure fluctuations.” If you see the issue with a known standard, it’s an instrument problem. You would then perform a full instrument recalibration and a performance qualification test.
4. Final Conclusion and Corrective Actions
After systematically ruling out each possibility, our investigation will narrow down to the true root cause. Our final report should detail each step of investigation, the data we collected, and why each alternative was ruled out.
Example Conclusion: “The unknown impurity peak was initially suspected to be an instrument error. However, a systematic investigation ruled out product degradation (based on force degradation data), extraneous peaks (by injecting a refilled. The root cause was identified as malfunction of the Instrument which was confirmed by hypothesis testing . The out-of-specification result was invalidated and a new test was conducted on a new sample.”
This systematic approach provides a clear, defensible record for auditors, demonstrating that we didn’t just guess; we proved our conclusion through a thorough, data-driven process. It’s the difference between saying “the instrument malfunction” and showing a complete investigation of how we arrived at that conclusion.
Further , why pressure drop?
It is noticed that there is no written procedure to de-gas the mobile phase, hence SOP to be revised with incorporation of degas by vacuum or of fixed timing of ultrasonication of mobile phase as a CAPA.
About the Author
Author
Administrator
"A seasoned professional with a Master's in Chemistry, the author brings more than two decades of expertise in Quality Control, Analytical Method Validation, and advanced QMS investigation. Their experience is globally validated by successful management of major regulatory audits, including those conducted by the US, EU, Brazil, and Russian authorities."